February 1, 2006
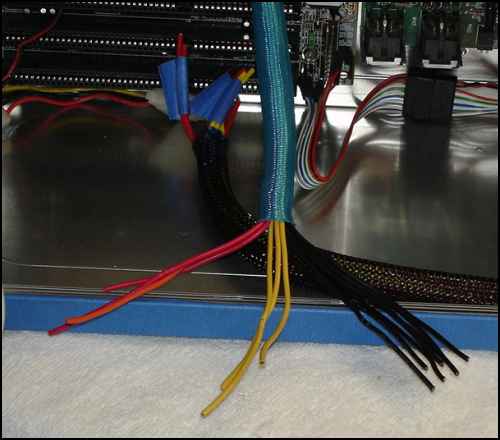
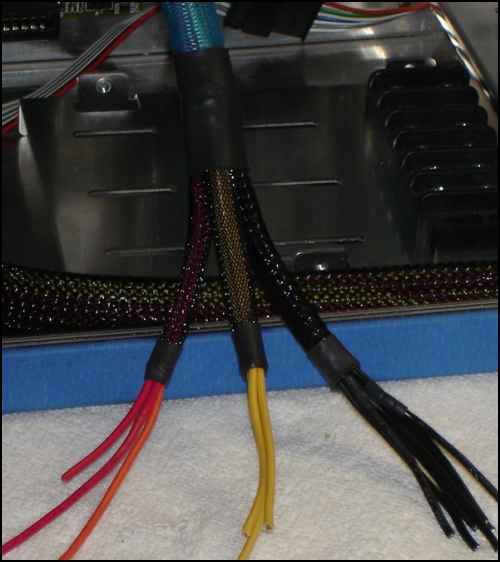
I massaged the wires to come out in nice groups.
And dressed them out.
Now I have the power and switching;
the third part is the connections to the drives.
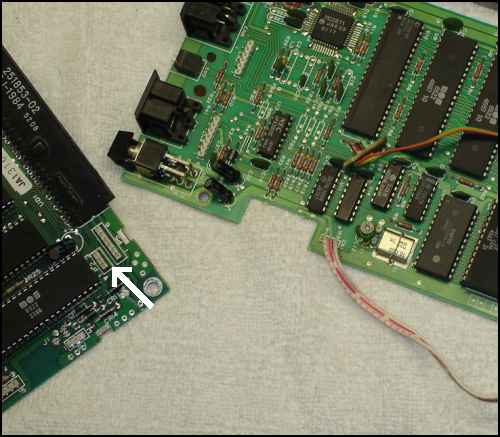
To know where those connections
will go; I need to install the drives.
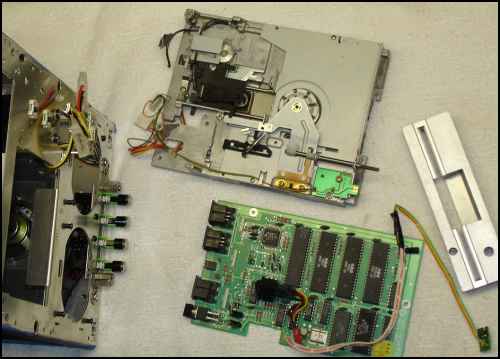
And that means it's time to do the
first complete install of all parts so far.
Time to finish loose ends as I go.
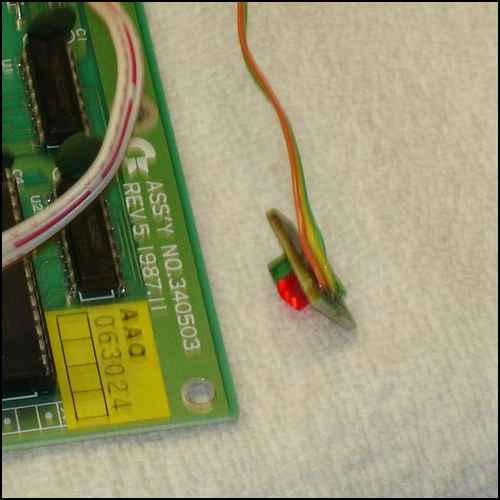
Starting with the 1541 II.
Remember it's LEDs? I modified
things quite a bit, and need to test it.
Woohoo!
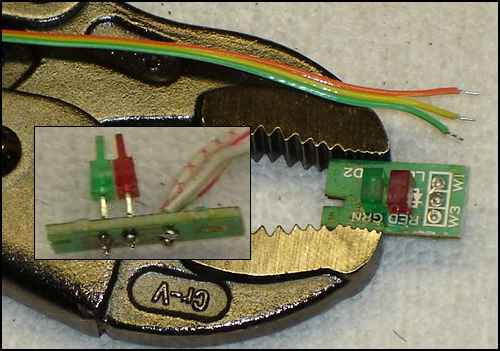
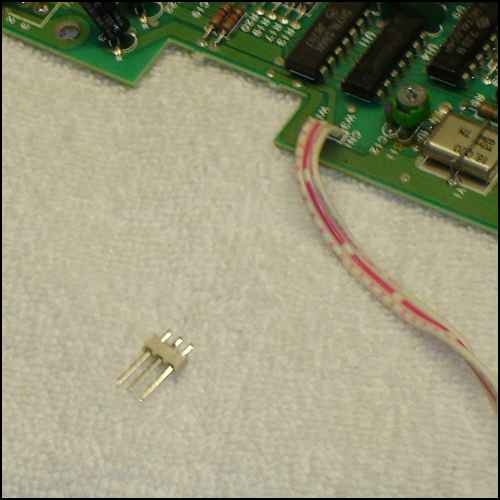
I need a connector on the LED
power wire. A way to separate
the PCB from the drive mech.
I'll get a three pin header from
the PCB I have been pilfering.
A heat gun works well for parts
removal. Heats all the pins at once.
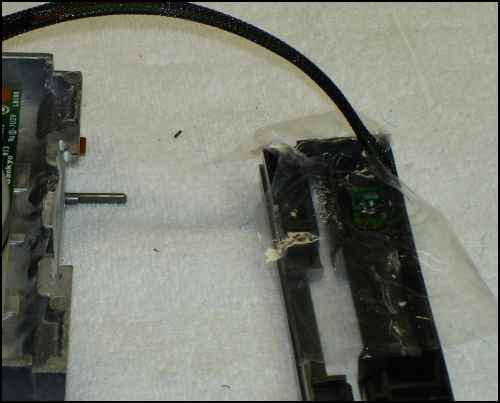
And here is the LED power
wire complete and dressed out.
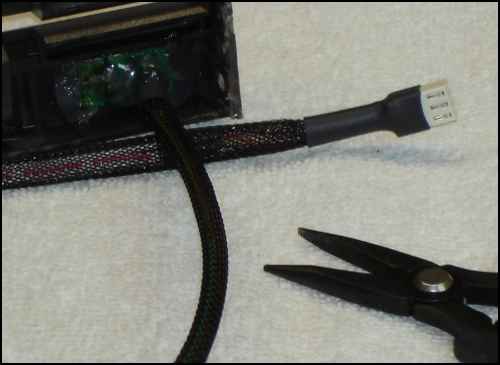
Pile on the hot glue.
Cover with plastic.
Hold in place till glue cools.
Custom fit.
Back to the Index Page
Forward to February 2, 2005
Copyright © 1996-2006 - Al Anger All Rights Reserved Worldwide