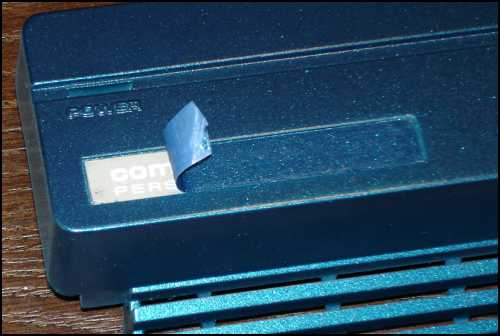
Now to start on final assembly of the face. First I removed the protective tape.
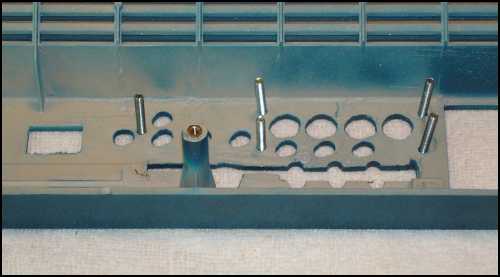
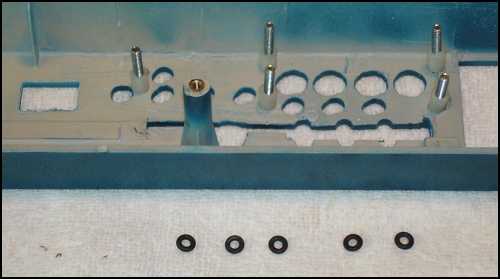
First thing is to insert the screws. Also I used a marker to black out where the seam between the two decals will be. That way only black will show through.
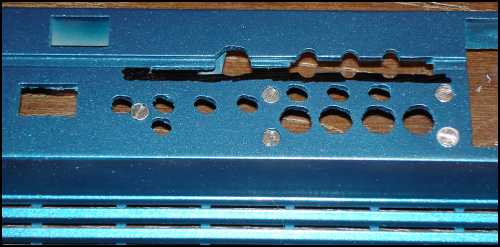
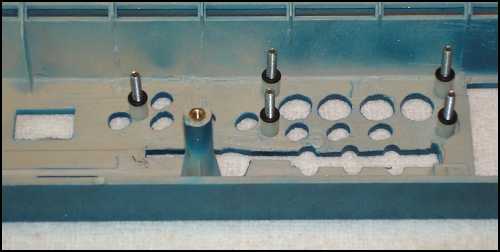
A view of the other side with the screws.
Next come the plastic spacers.
Then the rubber washers. I don't know if these were to keep the screws and spacers in place or what.
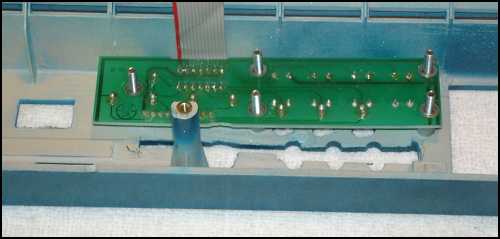
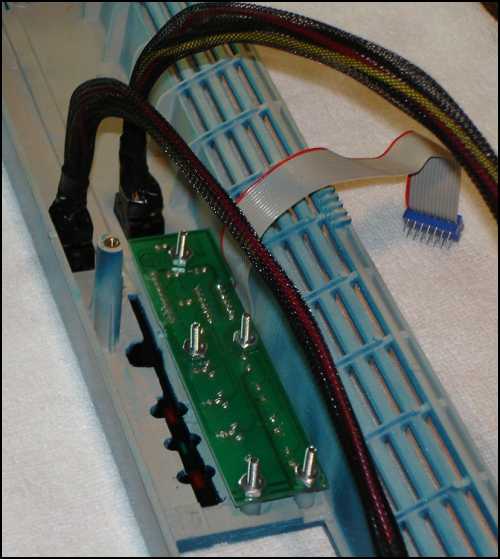
Next the controller board and nuts.
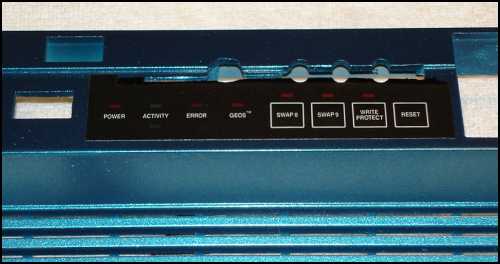
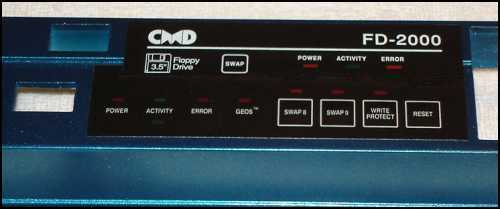
The first of the two decals. This one for the CMD HD.
Then the CMD FD decal.
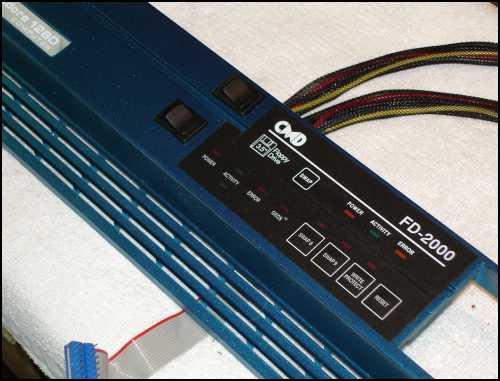
And lastly, the switches are installed.
A view from the back side.
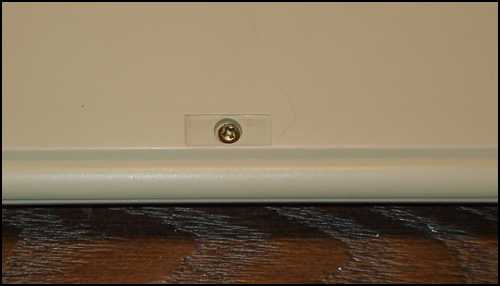
One of the rubber feet on the keyboard is missing. This is where the screws for the keyboard are hidden.
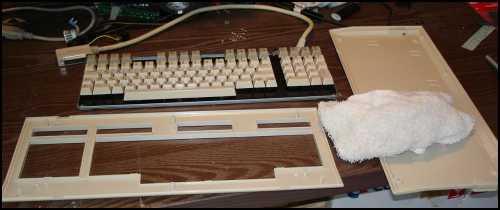
The disassembled keyboard is cleaned and reassembled.