July 5, 2005
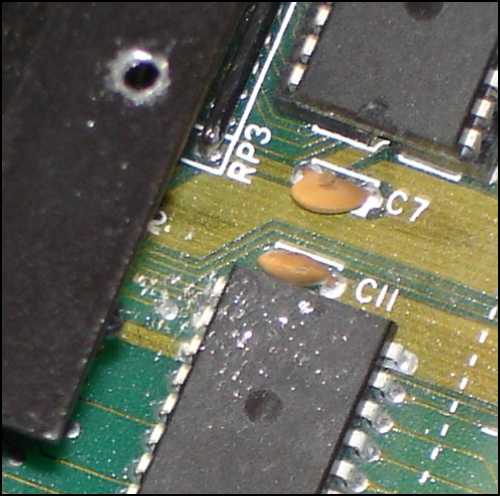
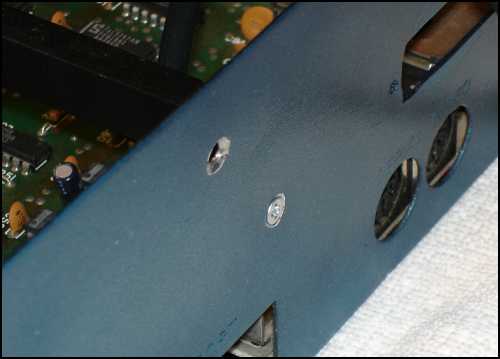
The self-tapping screws sometimes leave shavings even after the screw been in and out of the hole. I've been worried this might happen.
The cure is to work the hole with the screw until it fits well. Now to clean up the shavings.
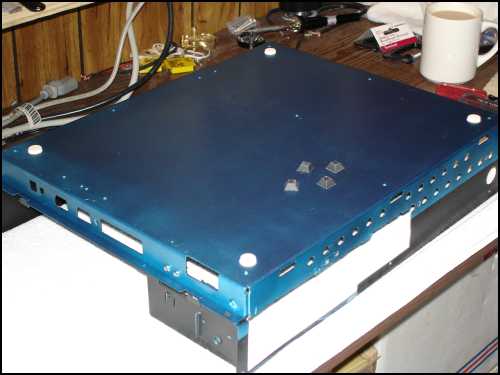
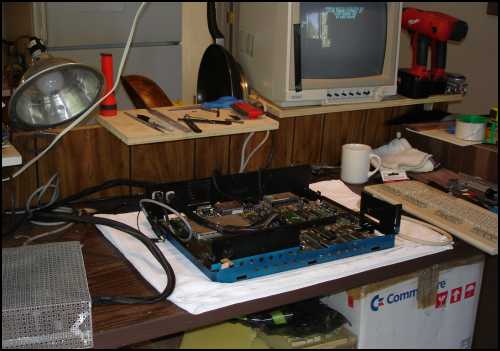
Here's everything disassembled
and cleaned of shavings.
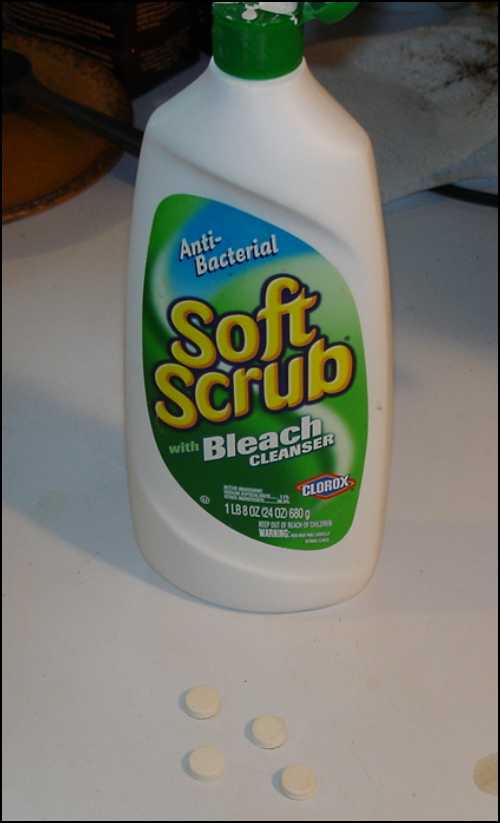
Next to clean and attach the
rubber feet. Soft Scrub w/ bleach
works very well for cleaning
computer cases, and rubber feet.
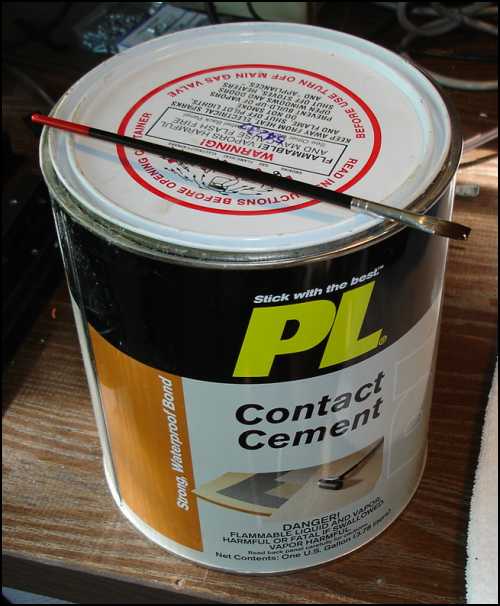
Some contact cement will
work for gluing the feet back on.
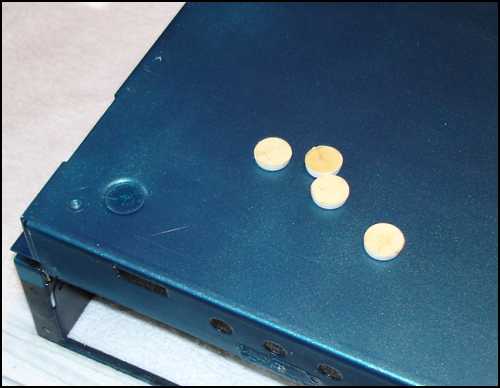
Here the feet are cleaned,
glued, and ready to attach.
I had these black feet left over
from the CMD HD. I think they'd
look better than the white ones.
But they would change the height
and that would be a problem for
things like the SuperCPU.
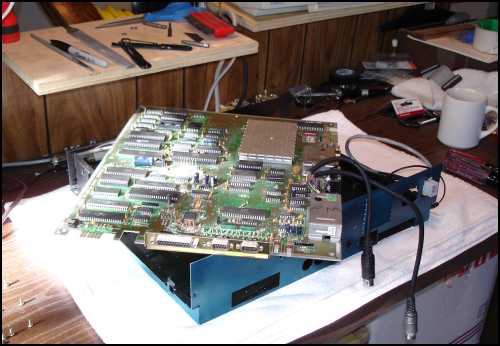
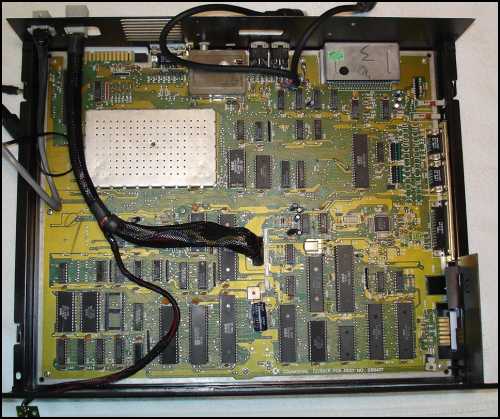
The board in place and showing
the serial bus attachments.
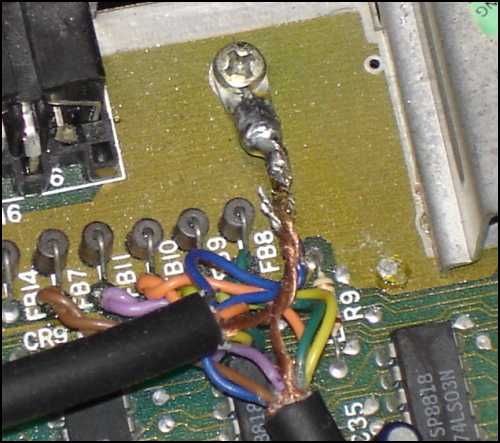
The cable shielding soldered to
a ring terminal provides a strain
relief as well as ground for the
cables.
Next is to attach the power cable.
A power on test for the
motherboard. All is well.
This is the first rail to install because
of reaching the bolt that attaches it.
To keep the screw heads from
interfering with the SuperCPU,
I'm using flat head screws and
bolts.
Back to the Index Page
Forward to Page Two
Copyright © 1996-2006 - Al Anger All Rights Reserved Worldwide